
How to Choose a Microscope for PCB Inspection
Introduction
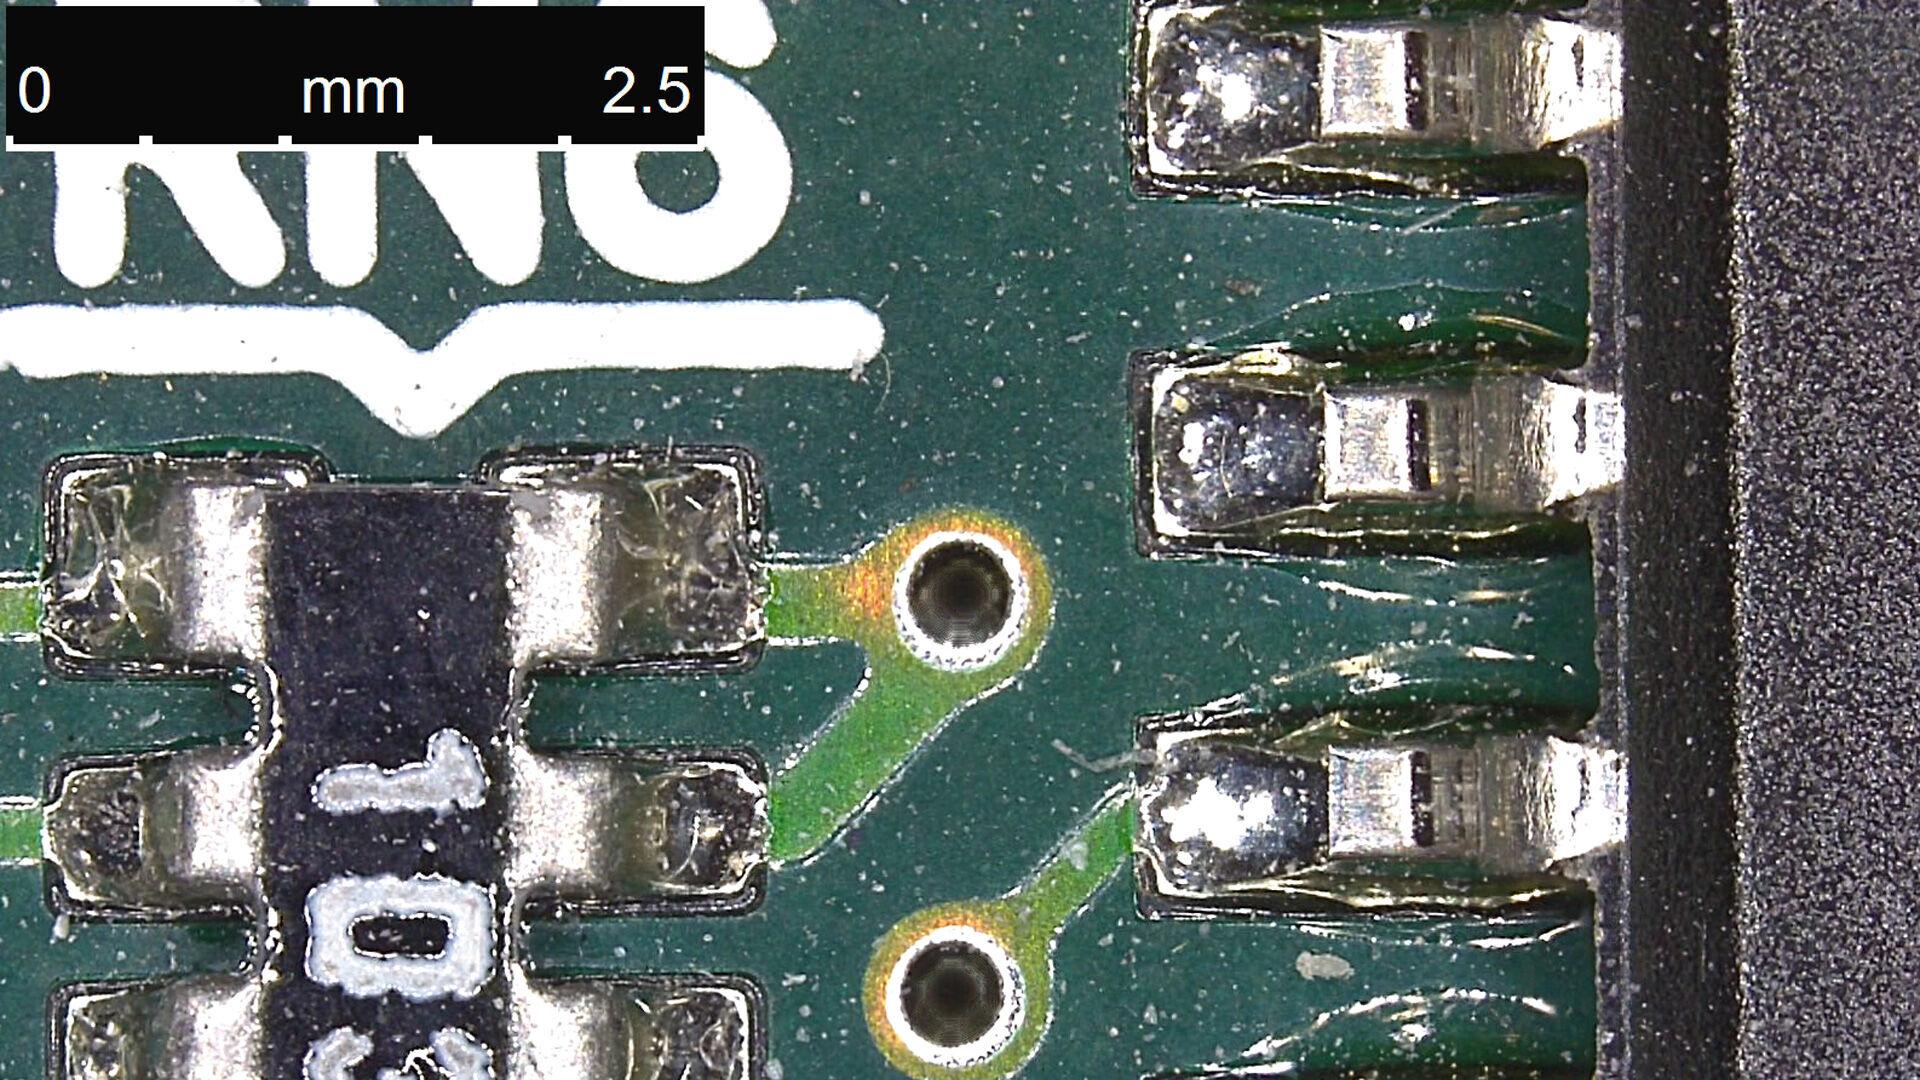
PCB inspection requires clear imaging to detect solder defects, micro cracks, and assembly issues.
Choosing the right microscope can improve inspection accuracy and efficiency. This guide explains the key factors you should consider.
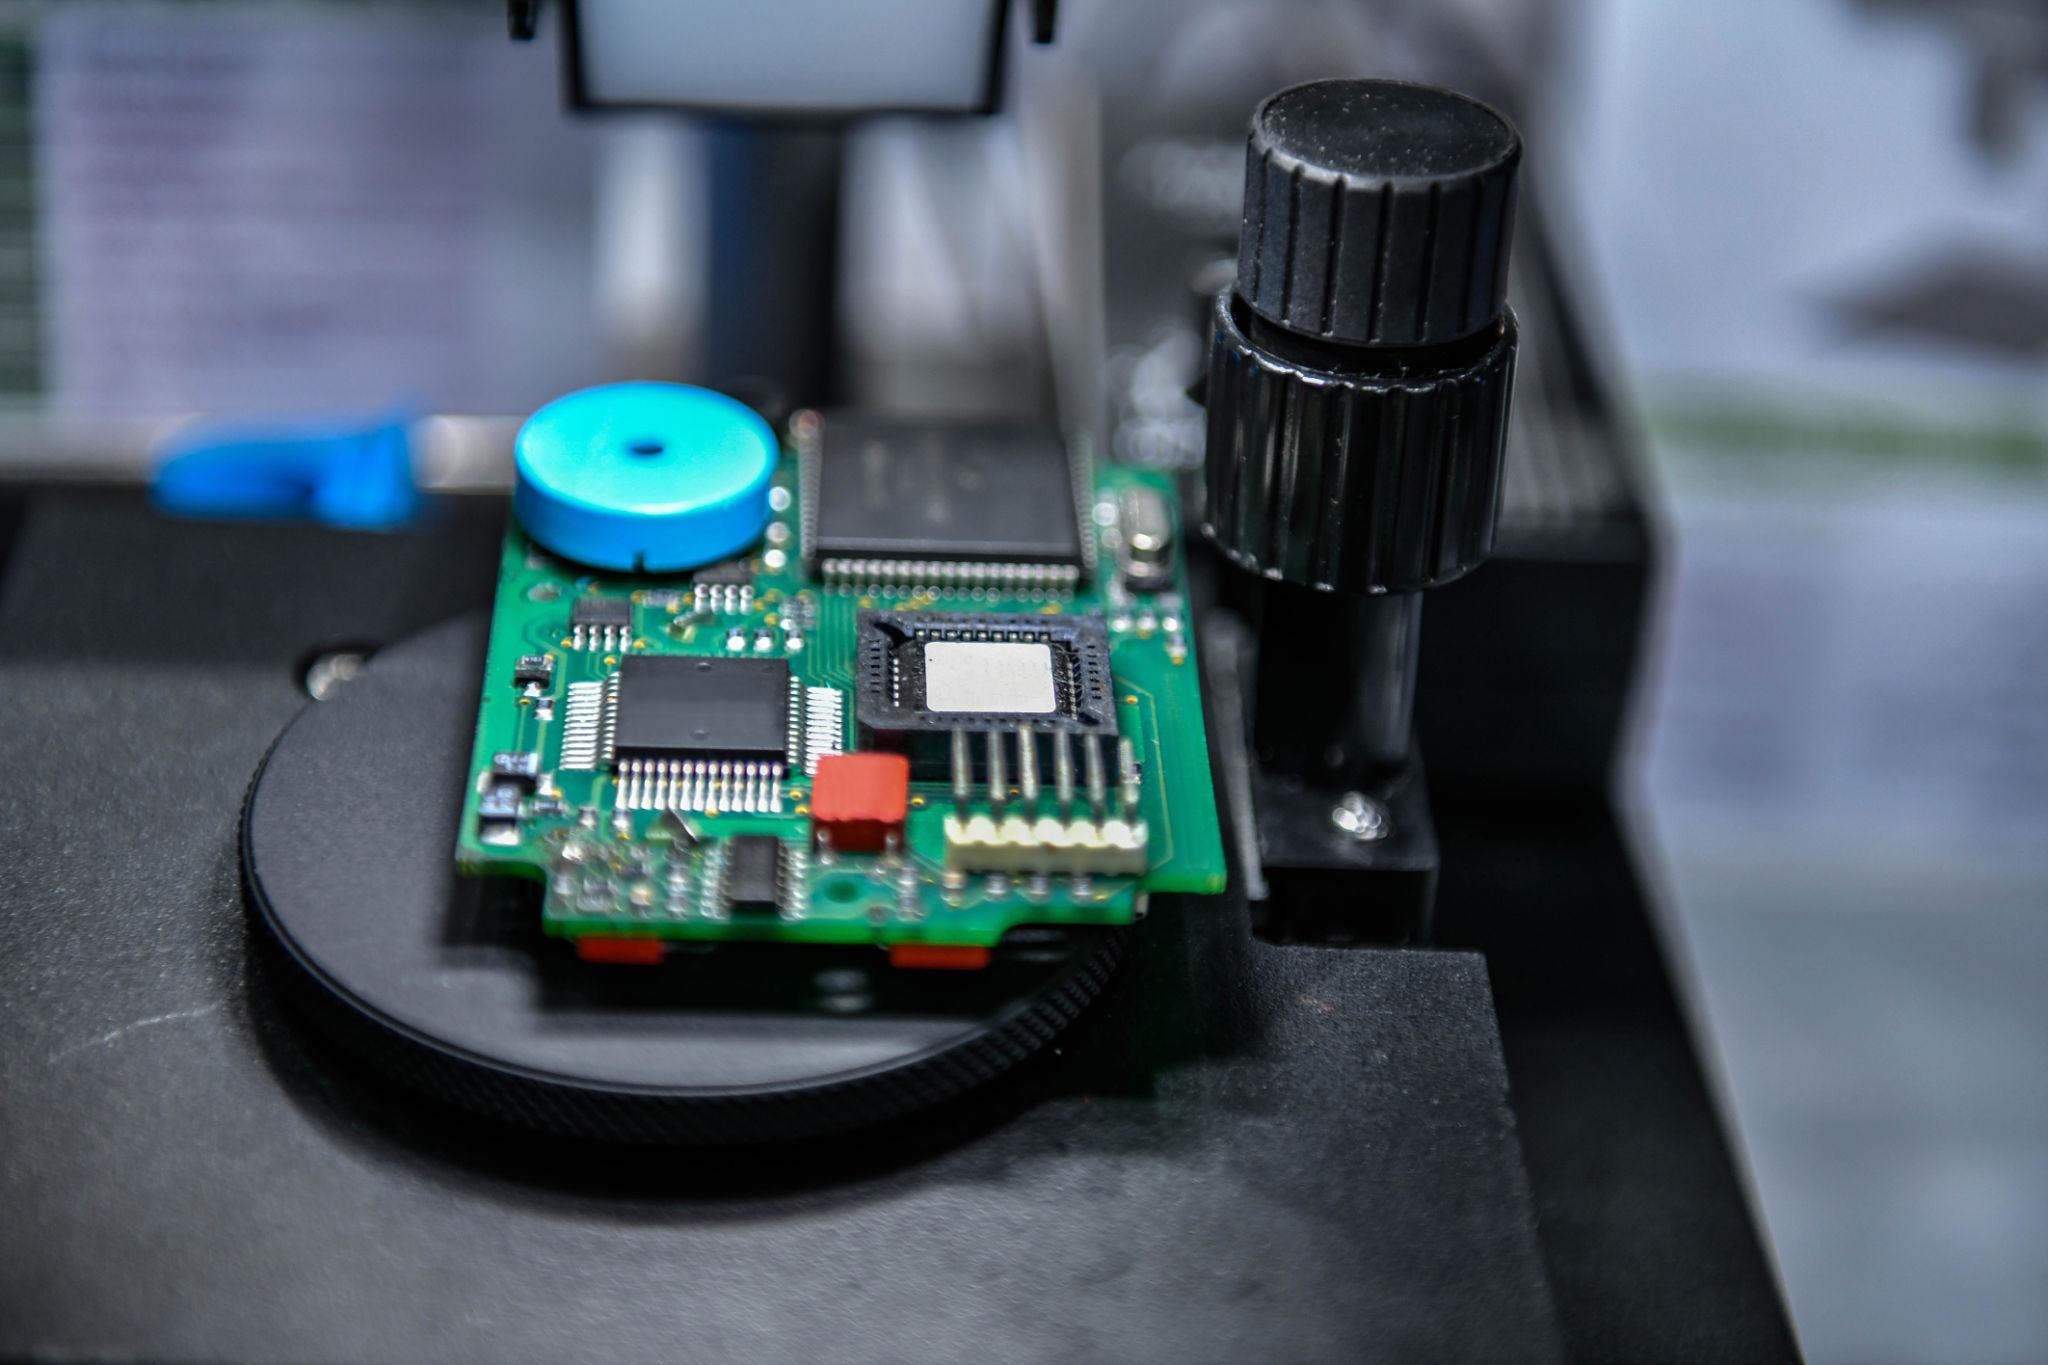
🔍 Why PCB Inspection Needs a Special Microscope?
PCB inspection is different from normal laboratory observation. It requires:
- Clear view of metal solder joints
- Stable magnification
- Enough working space for repair
- Real-time observation
Standard biological microscopes are not suitable.
⚙️ Key Factors to Consider
1. Magnification
- 10X–20X: general inspection
- 20X–40X: solder joints
- 50X+: micro components
Most users choose 7X–45X stereo microscope.
2. Optical vs Digital
Stereo Microscope
- Real optical image
- No delay
- Best for soldering work
Digital Microscope
- Display on screen
- Easy to record and share
- Good for QC and training
3. Working Distance
For PCB repair:
- Minimum 100mm recommended
- More space = easier operation
4. Lighting
- Ring LED light (standard)
- Adjustable LED (better contrast)
🧪 Recommended Types
1. Stereo Microscope
- Best for repair work
- 7X–45X zoom
- LED lighting
2. Digital Microscope
- 1080P or 4K display
- Suitable for inspection and training
🚀 Need a Solution?
VOSEED provide industrial microscope solutions for:
- PCB inspection
- Electronics repair
- Quality control
Contact us for OEM/ODM customization and product recommendation.
Conclusion
The right microscope depends on your application. Focus on magnification, working distance, and imaging method to choose the best solution for your PCB inspection needs.